~ PART TWO~
Directly below is the summery from the first post. To read part one please link to the first post RIGHT HERE.
 |
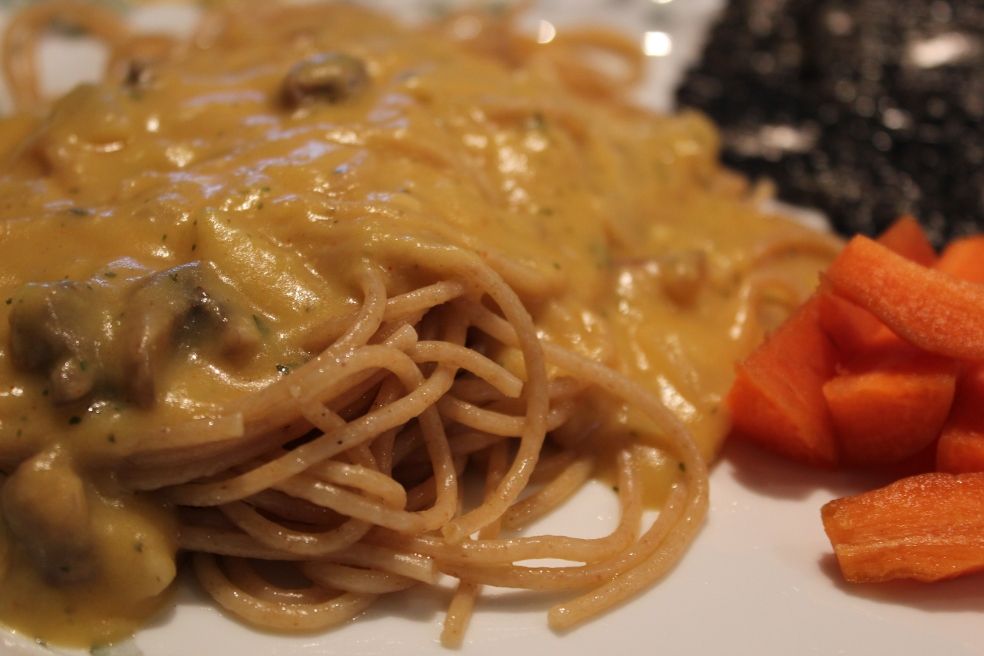
| (Home made bread goes with everything!) |
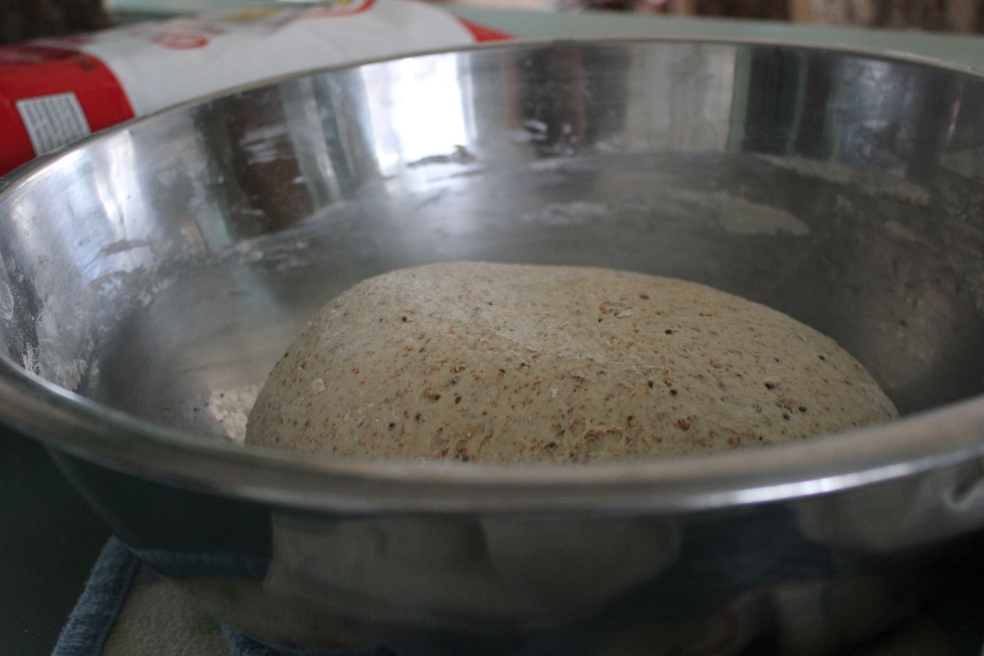 |
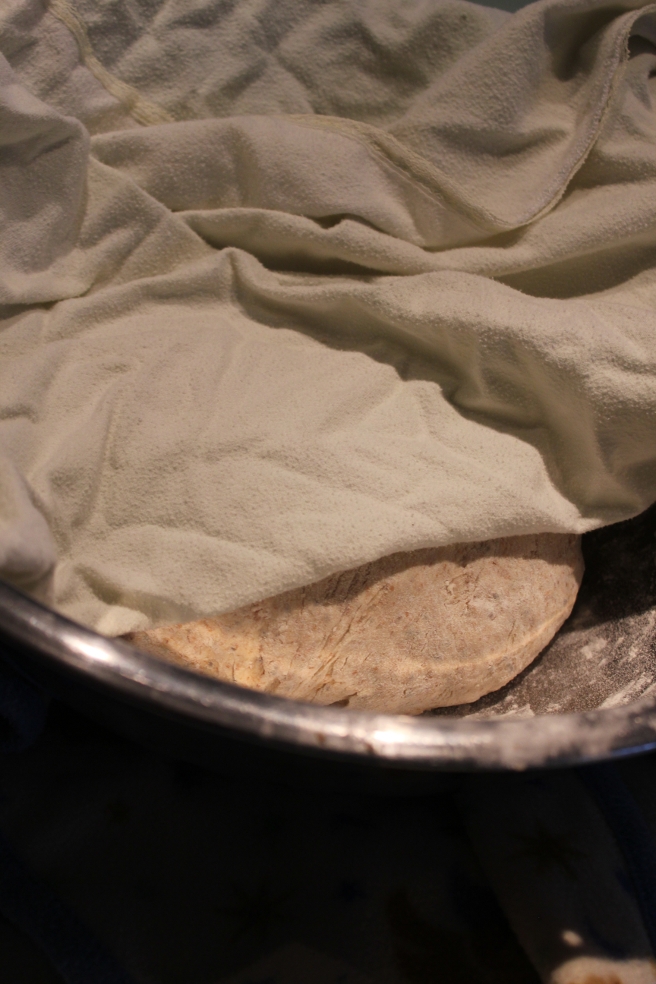
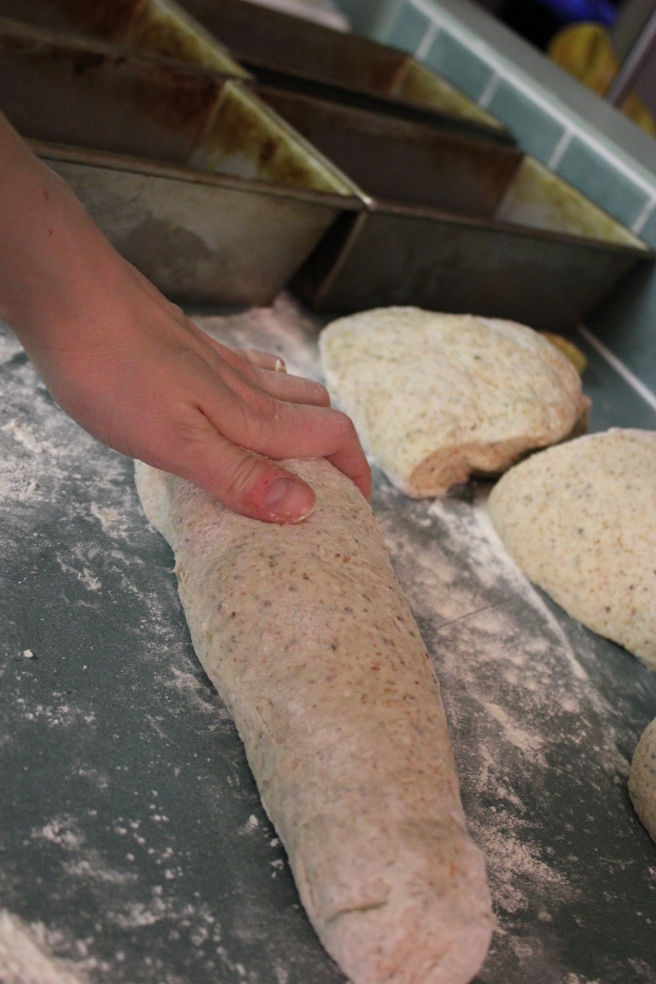
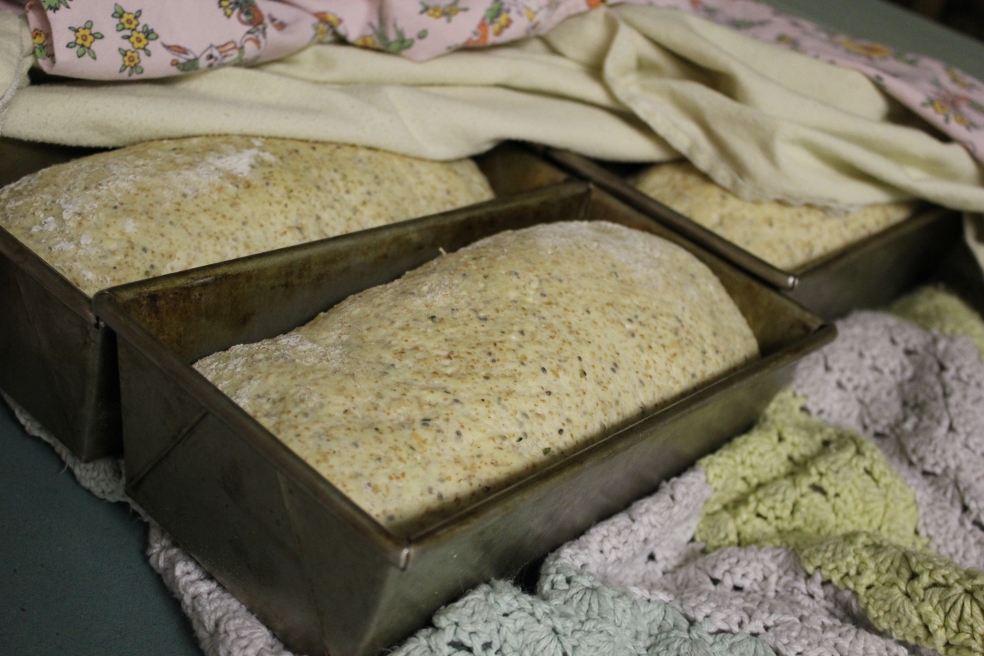
| (Ready to rise.) |
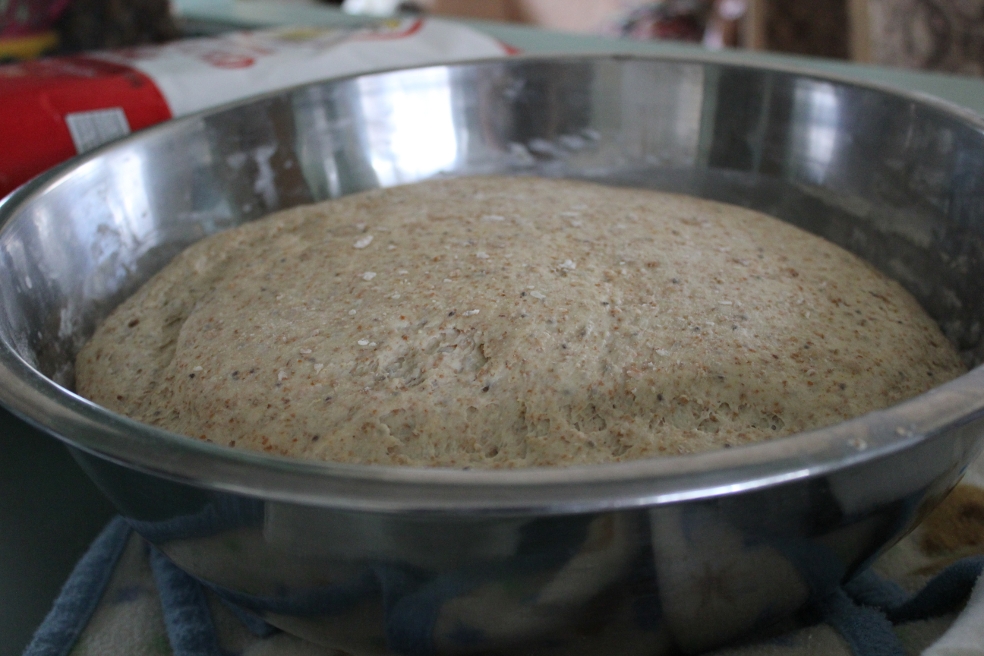 |
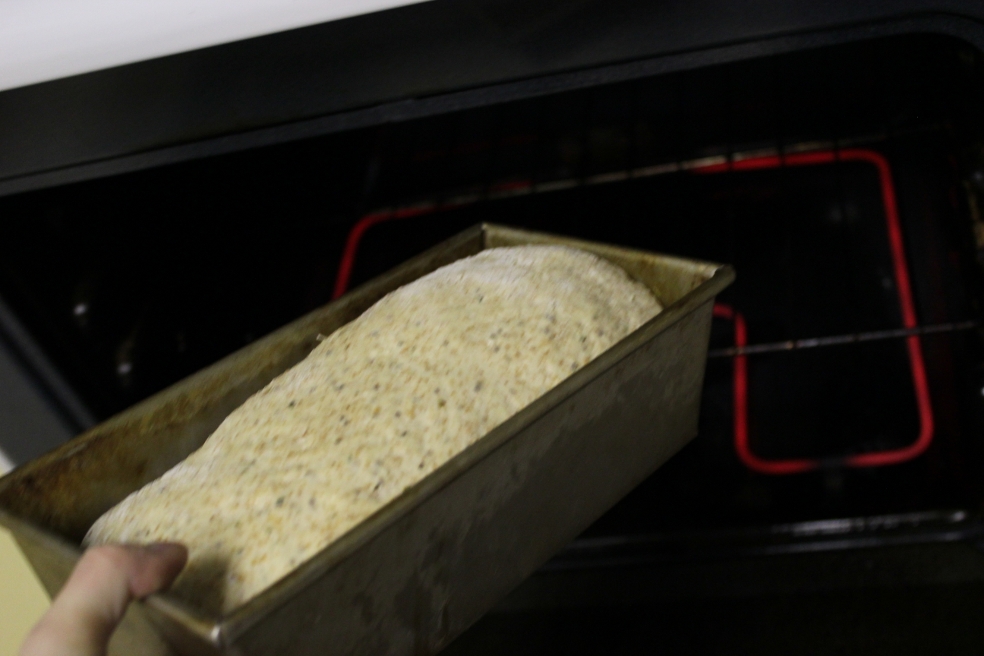
| (Risen.) |


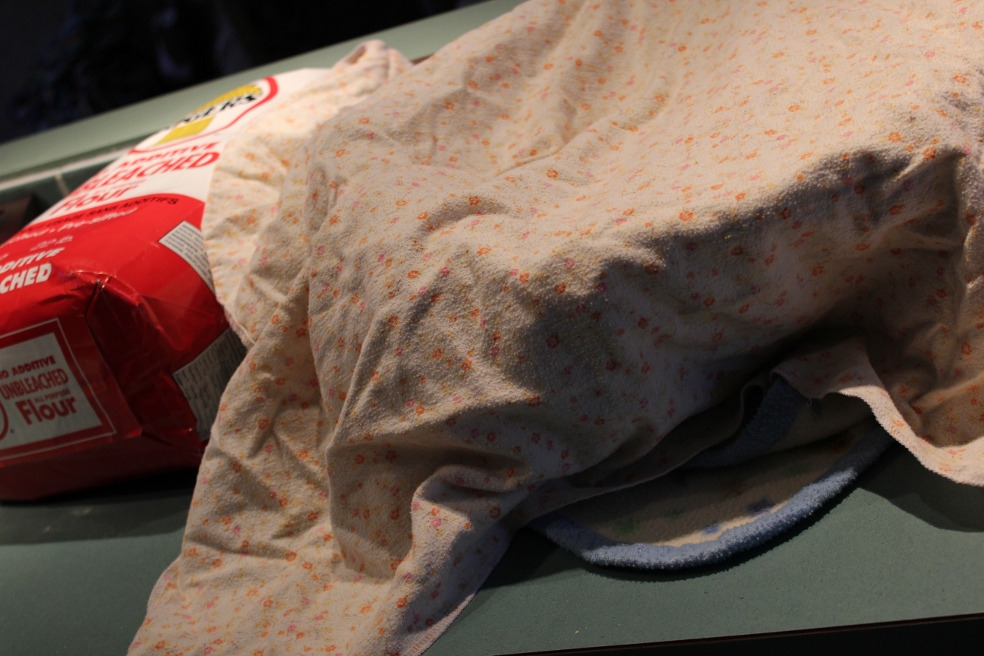
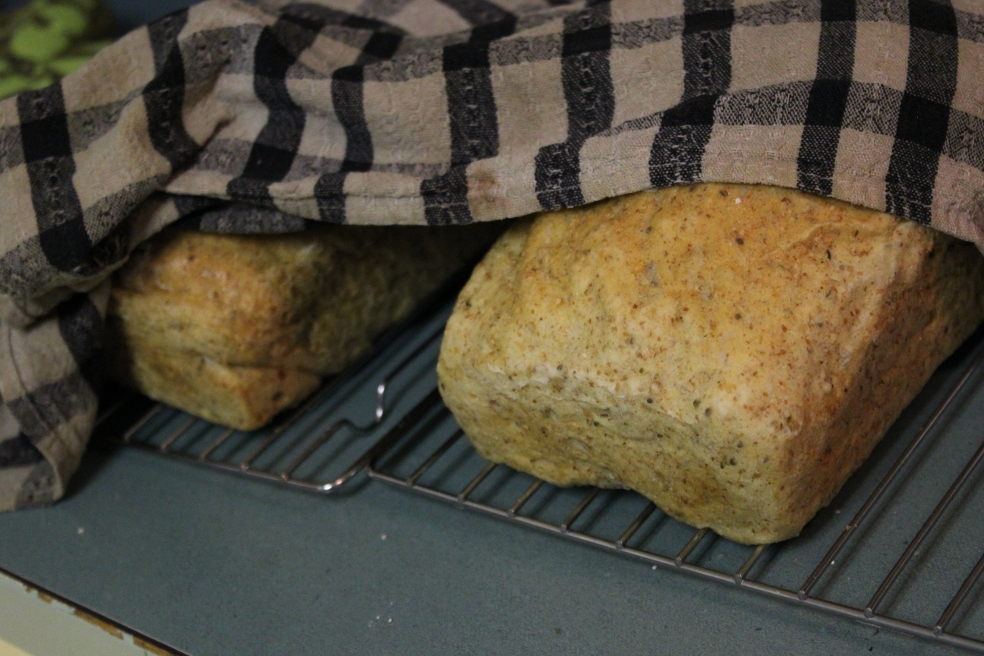
8. Once nicely golden they are popped out of their pans and set upon my cooling racks. I then cover them with a damp tea towel. This method, gleamed from my sister in laws Dutch mother (HELLO ANNA!), cools and keeps the bread from becoming too crusty. My mother used to butter them, which is a delicious method to accomplish the same but I found got really messy with the amount of bread I make and with having to bag and freeze it as I do.
9. Step nine and ten are both very important. Nine is to take a minute and bask at the beautiful domestic treasure that is fresh home made bread. Pat yourself on the back 

10. Step ten, is credited to my husband… for Pete sake don’t freeze all the loaves you just made! Put one aside to be sampled immediately and to be enjoyed untouched by the freezer.
11. Once cooled nicely bag them.
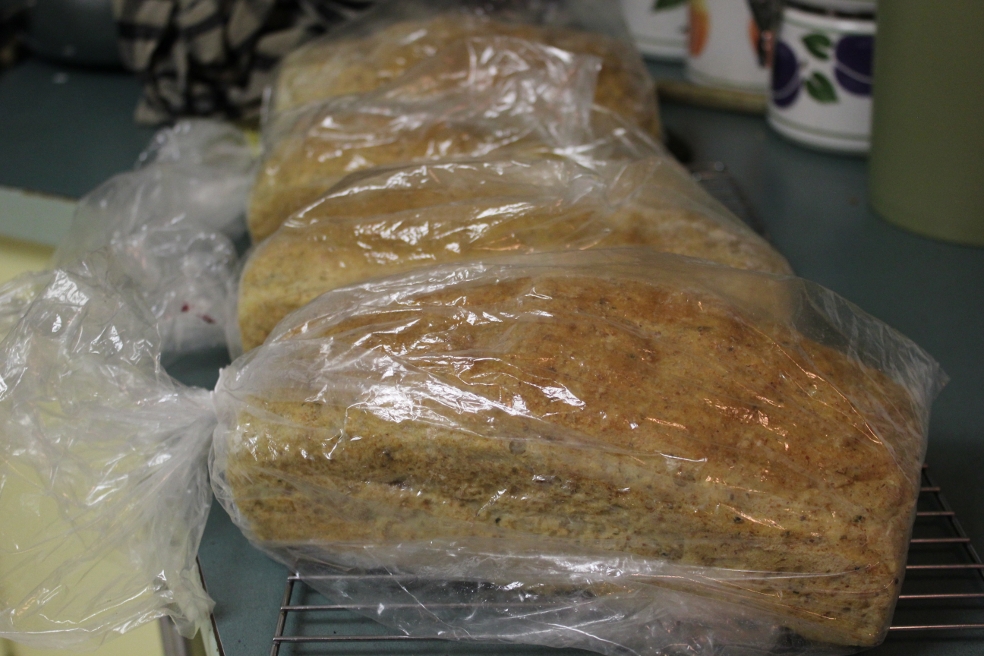
12. Put the majority of your labor in the freezer to be sure it is stretched all week. It thaws beautifully and is very nice if bagged well and placed in a large chest freezer.